

How to Install Recessed LED Spotlights - Advantages and Disadvantages

Team Factorled
2026-03-05 14:53:02
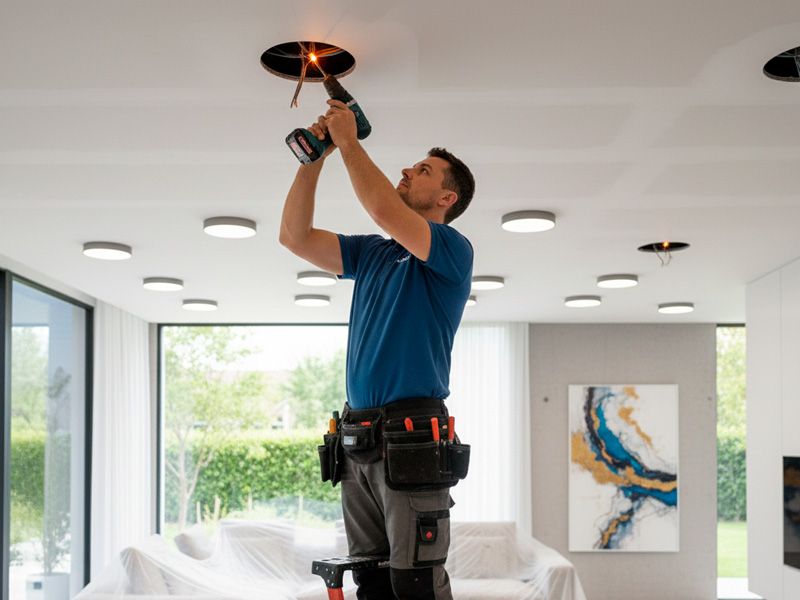
How to Install LED Recessed Lighting: The Ultimate Guide to Pros, Cons, and Installation
As SEO content specialists and lighting experts, we'll walk you through the step-by-step installation, the technical specs you need to know, and the real-world pros and cons.
What is an LED Recessed Light and Why is it Trending?
Recessed lights (commonly known as can lights or pot lights) are fixtures designed to be installed into a hollow opening in a ceiling — usually drywall or plaster. Unlike traditional lamps, LED (Light Emitting Diode) technology provides cool-to-the-touch illumination with minimal power draw.
Why LED Matters in 2026
Today, sustainability and rising utility costs make these fixtures the #1 choice. According to Energy Star standards, switching to LED can drastically improve a home's energy efficiency rating and overall market value.
Pros and Cons of LED Recessed Lights
Before you start cutting holes in your ceiling, it is vital to understand the cost-benefit ratio of this system:
✅ Key AdvantagesDrastic Energy Savings
Reduces energy consumption by up to 90% compared to traditional incandescent or halogen bulbs.
Long Lifespan
Most last over 30,000 hours. With an external driver, you often only need to replace the transformer — not the entire fixture.
Minimalist Aesthetic
Perfect for clean ceiling lines and modern, open-concept spaces with no visual clutter.
Eco-Friendly
Mercury-free and significantly lower CO₂ emissions compared to conventional lighting solutions.
- Permanent Installation: Requires cutting into the ceiling, making it difficult to change fixture locations later.
- Ceiling Requirements: Not suitable for solid concrete ceilings without a drop-ceiling or soffit structure.
- Initial Investment: While it pays for itself quickly, the unit price for high-end LEDs (like those with Osram chips) is higher than a standard bulb.
Buyer's Guide: 5 Technical Criteria for Selection
To answer "which light should I buy?", you must look beyond the price tag:
Lumens vs. Wattage
Don't shop by Watts (W) — shop by Lumens (lm). For a kitchen, look for high-efficacy fixtures: at least 140 lm/W.
Color Temperature
Warm, Neutral, or Cool White — depending on the room's function. See the scale below.
Beam Angle
Narrow beam (24°–36°) for accent lighting. Wide beam (120°) for uniform general illumination.
IP Rating
IP20 for general indoor use (dry areas); IP44/IP65 required for shower zones or outdoor patios.
Color Rendering Index (CRI)
CRI > 80 for everyday living spaces. For professional studios or high-end retail, CRI > 90 is recommended.
Color Temperature Scale: Which Kelvin for Which Room?
Living Room · Bedroom · Dining Room
Bathroom · Kitchen · Home Office
Garage · Workshop · Storage
IP Rating Reference Table
| IP Rating | Protection Against | Typical Use | Recommendation |
|---|---|---|---|
| IP20 | Solid objects > 12 mm | Dry indoor areas | Living room, bedroom, hallway |
| IP44 | Dust (partial) + water splashes | Damp areas | Bathroom (outside zone 1) |
| IP65 | Dustproof + water jets | Outdoor / shower zone | Patio, shower, exterior wall |
| IP67 | Dustproof + submersion up to 1 m | Wet outdoor areas | Pools, fountains, driveways |
Osram Chip Palace – UGR17
The anti-glare downlight engineered for peak visual comfortIn modern home offices and workspaces, glare is a major productivity killer. The Osram Chip Palace with a UGR17 rating ensures the light doesn't cause eye strain or annoying screen reflections — the ideal fixture for focused, comfortable work environments.
Step-by-Step Guide: How to Install an LED Recessed Light
Installation is straightforward if you follow these safety guidelines carefully.
Always turn off the power at the breaker panel before every step, and verify there is no live voltage with a non-contact tester. Working on live wires can be fatal.
🧰 Tools Needed
- Hole saw or drywall saw (matched to the ceiling cutout diameter)
- Wire strippers and wire nuts (or WAGO connectors)
- Tape measure and pencil
Safety and Measurement
Turn off the power at the breaker. Measure the "Ceiling Cutout" diameter provided by the manufacturer and mark the spot precisely on the ceiling.
Cut the Hole
Use a hole saw for a clean, professional finish. Ensure there are no joists, wires, or ductwork in the cutting path before you start.
Wire the Driver
Connect the house wires (L and N) to the Driver (transformer) using approved connectors. The driver converts your home's AC power to the DC power required by the LED.
Secure the Fixture
Push the driver through the hole. Pull the spring-loaded clips upward, slide the fixture into the opening, and release. The clips snap down and hold the light tight against the drywall.
Test the Connection
Turn the power back on and check for a steady, flicker-free light. Flickering usually indicates a wiring issue or a faulty driver.
Plan the number and placement of fixtures before you cut. As a general rule of thumb: 1 recessed light per 4–6 sq ft of ceiling area with a 120° beam angle delivers balanced, even general lighting throughout the room.
Conclusion: Is the Switch Worth It?
Absolutely. The combination of minimalist design and technical efficiency makes LED recessed lights the winning choice for any renovation. You'll improve your home's look while actively lowering your electric bill — starting from day one.