

The Definitive Guide to Kitchen Lighting: Safety, Ambience, and LED Efficiency

Team Factorled
2026-04-16 08:24:08
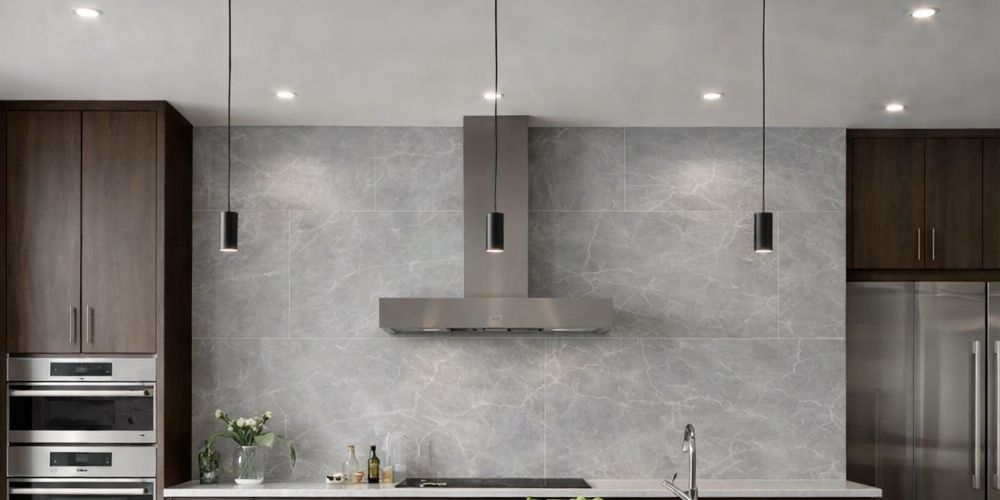
The complete guide to kitchen LED lighting: safety, ambience and energy efficiency
Kitchen lighting is not simply a matter of aesthetics — it is about home safety, visual hygiene and energy efficiency. A well-planned layered lighting strategy transforms a functional space into the social heart of the home, with LED technology that cuts energy bills by up to 80 %.
The 3 pillars of kitchen lighting
Lighting specialists apply the layered lighting theory to achieve a balanced space. Combining different light sources eliminates annoying shadows and prevents eye strain.
Strategically placed LED downlights eliminate dark corners. In open-plan kitchens, dimmers are recommended to transition from bright task lighting when cooking to softer mood lighting at dinner time.
High-density LED strips under wall cabinets eliminate the shadow your own body casts over the worktop. A CRI above 90 ensures food appears in its true colours — essential for judging doneness and freshness.
Pendant lights over kitchen islands and peninsulas act as a decorative focal point, visually defining the dining zone while highlighting materials such as stone or wood.
Colour temperature (Kelvin): which is right for your kitchen?
Colour temperature does not affect brightness — that is determined by lumens — but rather the psychological tone of the space. The wrong choice can make a kitchen feel like a hospital or a cave.
Advantages of LED technology in the kitchen
Star products: maximising efficiency
LED strips: the invisible solution
For a professional finish, avoid sticking the strip directly to the underside of the cabinet without protection.
Downlights: optimal placement
The most common mistake is installing a single central light point. The correct technique is overlapping placement:
- Ideal spacing: between 1.2 and 1.5 metres between fittings.
- Position: aligned with the front edge of the worktop so light falls directly onto the working area.
- Output: allow 100 lumens per m² for ambient lighting and up to 300 lm/m² for task zones.
The Osram UGR17 is the reference choice for professional and high-end domestic kitchens, thanks to its certified glare control and CRI above 90.
Pendant lights: trends 2025–2026
The Scandinavian style (light wood, warm light) and the industrial style (black metal, exposed filament bulbs) continue to dominate searches on design platforms. To integrate them with LED technology without sacrificing aesthetics, opt for LED filament bulbs that replicate the vintage look with modern energy consumption.
Installation steps: practical guide
Draw a floor plan of the kitchen marking work zones, islands and dining areas. Decide which circuit will connect to each dimmer.
Use a 70–75 mm hole saw for standard fittings. Leave at least 5 cm of free space above the ceiling void for ventilation.
Mount them on the underside of the wall cabinet, 5–8 cm from the front edge, so the light covers the entire worktop without creating shadows.
Calculate the total strip wattage and add a 20 % margin. Never run a driver at 100 % of its rated load.
Areas above the sink or near the hob require a minimum of IP44. Refer to BS 7671 (IET Wiring Regulations) for domestic kitchen electrical installation requirements.
Conclusion: invest in quality of life
Designing your kitchen lighting well is not an aesthetic expense — it is a long-term investment in safety, visual comfort and energy efficiency. Combining light layers, selecting the right Kelvin temperature and choosing high-CRI LED technology makes the difference between a kitchen that works and a kitchen that inspires.
Not sure exactly how many lumens you need? Don't guess — calculate your space's lighting requirements with our tool or browse our LED lighting catalogue for kitchens.