

How to Save Energy at Home: Essential Tips and Tricks to Reduce Your Bill

Team Factorled
2026-02-17 09:27:58
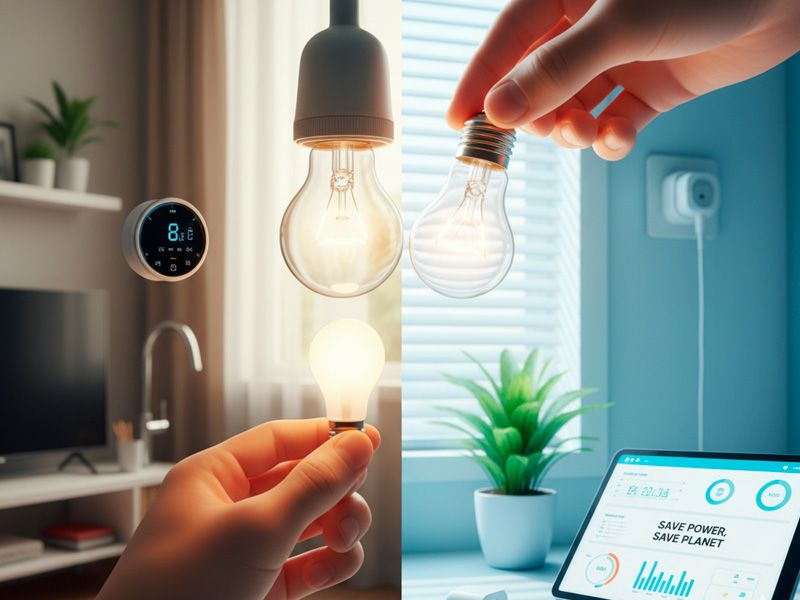
How to Save on Electricity at Home: Essential Tips and Tricks to Lower Your Bill
Beyond market fluctuations, there are practical tricks and technological shifts you can implement today to optimize home power consumption and ensure long-term savings. This guide provides the most efficient, expert-backed methods to take control of your energy costs.
1. Immediate Strategies for Home Energy Savings
The first step to cutting costs doesn't require spending a dime — it's about changing habits. The key lies in the smart management of your most energy-intensive appliances.
Optimizing Appliance Use
🌙 Use Off-Peak Hours
Run your dishwasher, washing machine, and dryer during off-peak hours (usually late at night or early morning). This reduces strain on the grid and can be significantly cheaper depending on your utility rate plan.
📦 Full Loads Only
Never run a half-empty dishwasher or washing machine. Waiting for a full load maximizes the energy efficiency of every cycle and ensures you get the most out of every kilowatt-hour.
🔧 Preventative Maintenance
Cleaning your dryer's lint filter or vacuuming the coils behind your refrigerator can improve energy efficiency by up to 15% — a small effort with a measurable impact on your bill.
Tips for Efficient Air Conditioning
🌡️ The 78°F (25°C) Rule
During the summer, try not to set your AC below 78°F (25°C). Every degree lower can increase your cooling costs by about 7%.
💨 Cross-Ventilation
Take advantage of cool morning breezes to flush out warm air before turning on the AC. Opening windows on opposite sides of your home creates an effective natural airflow.
🪟 Thermal Insulation
Keep blinds and curtains closed during the hottest parts of the day to block direct sunlight and reduce the greenhouse effect inside your home, lowering the demand on your cooling system.
2. The Essential Investment: Switching to LED Technology
If you are looking for the fastest way to slash your electric bill, switching to LED lighting is the answer. It is the home improvement with the quickest return on investment (ROI) available today.
Why LED is the Ultimate Saving Tool
⚡ Minimal Consumption
LED bulbs use up to 80% less energy than old halogen or incandescent bulbs, delivering equal or better light quality at a fraction of the power draw.
♾️ Extreme Durability
LEDs last significantly longer than any previous technology, meaning fewer replacements, less waste, and lower long-term costs for your household.
❄️ No Residual Heat
Unlike halogens, LEDs don't emit heat, which indirectly helps keep your home cooler in the summer — reducing the workload on your air conditioning system.
🌟 Quality and Performance
Choosing high-quality products (such as those with OSRAM Chips and high luminous efficacy of 150 Lm/W) ensures professional-grade lighting at a fraction of the cost.
Choosing the Right Color Temperature
Color temperature directly affects the ambiance and visual comfort of every room. Use this visual guide to choose the right tone for each space in your home:
IP Ratings: Choosing the Right Protection Level
The IP (Ingress Protection) rating determines your LED fixture's resistance to dust and moisture. Use this table to choose the right grade for each location in your home:
| IP Rating | Protection Against Solids | Protection Against Liquids | Recommended Installation Location |
|---|---|---|---|
| IP20 | Objects > 0.49 in (12.5 mm) | No protection | Dry indoors (living room, bedroom, office) |
| IP44 | Objects > 0.04 in (1 mm) | Water splashes | Bathroom (outside shower zone), kitchen |
| IP65 | Fully dust-tight | Water jets | Outdoor areas, covered patios, garages |
| IP67 | Fully dust-tight | Temporary submersion | Very wet areas, poolside installations |
Technical Criteria for Choosing the Right LED
Luminous Efficacy (Lm/W)
The higher the number, the more efficient the bulb. Quality LEDs reach 130–160 Lm/W. Budget alternatives often fall below 100 Lm/W, costing you more in the long run.
CRI — Color Rendering Index
A CRI ≥ 90 guarantees natural, accurate color reproduction — essential for kitchens, offices, and bathrooms where visual precision matters.
Rated Lifespan (Operating Hours)
High-quality LEDs last 25,000–50,000 hours. At 8 hours of daily use, that's over 17 years of operation before needing a replacement.
Dimmer Compatibility
Dimmable LEDs allow you to reduce consumption even further. Always check compatibility with your existing dimmer switches before purchasing.
Our Top Product Pick: The Industry Standard
🌟 SMART WiFi LED Fixture — OSRAM Chip UGR<17
The preferred choice for offices, home offices, and high-demand living spaces across North America and Europe
Technical Specifications:
- OSRAM Chip for superior light quality and long-term reliability
- Luminous efficacy: 150 Lm/W — peak energy performance
- UGR < 17 — glare-free illumination, perfect for screens and video calls
- CRI ≥ 90 for natural, accurate color rendering
- Available in 2700 K, 4000 K, and 6000 K
- IP44 rated — safe for bathrooms and kitchens
- Rated lifespan: up to 50,000 operating hours
- Compatible with Alexa and Google Home for voice control
"After switching to the SMART LED fixture in my home office, my monthly bill dropped by $22 and my video calls finally have professional-quality lighting." — Remote professional, Austin, TX
Smart Home Innovations: Connected Lighting
Energy saving reaches the next level with home automation. Using SMART WiFi LED fixtures opens up powerful new ways to control your consumption with precision:
📱 Smartphone Control
Schedule lights to turn on and off via your smartphone app — from anywhere, at any time, even when you're away from home.
☀️ Adaptive Brightness
Automatically adjust brightness based on available natural light — no unnecessary consumption on bright, sunny days.
🔊 Voice Control
Integrate with Alexa or Google Home to ensure lights aren't left on in empty rooms — effortless convenience that pays off every month.
3. Real-World Cases: The Impact of Change
💡 Success Case 1: The Average Family
A family of four replaced 25 halogen bulbs with LEDs and installed motion sensors in hallways. Result: a 12% reduction in their total monthly bill starting from the very first month.
💡 Success Case 2: The Efficient Home Office
A remote professional installed a Linear Professional Fixture in their workspace. Due to its high luminous efficiency, they achieved better lighting for video calls while consuming less than half the power of their old floor lamp.
Step-by-Step Installation Guide
A proper installation is key to getting the best results and ensuring full electrical safety. Follow these steps for a successful upgrade:
Inventory and Planning
Identify all existing light fixtures in your home: bulb base type (E26, E12, GU10…), current wattage, and room location. Determine the best color temperature for each space before purchasing.
Turn Off the Circuit Breaker
Before replacing any bulb or fixture, switch off the corresponding circuit breaker in your electrical panel. Use a non-contact voltage tester to confirm the power is off before proceeding.
Remove the Old Bulb
Carefully unscrew or pull out the old bulb. Use this opportunity to wipe down the socket and fixture from any accumulated dust or residue.
Install the New LED Bulb
Insert the new LED bulb, making sure it matches the socket type. Screw in firmly but without over-tightening. For recessed fixtures, ensure the retaining clips are securely locked in place.
Restore Power and Test
Flip the circuit breaker back on and turn on the light. Check for proper brightness and the absence of flickering — particularly important if a dimmer switch is part of the circuit.
Connect to Your Smart Home (Optional)
For smart bulbs or fixtures, follow the app instructions to connect to your home WiFi network. Set up custom schedules and scenes to maximize your daily energy savings automatically.
⚠️ Important Safety Warnings
- Never replace a bulb or fixture without first switching off the circuit breaker at the electrical panel
- Do not exceed the maximum wattage rating printed on the fixture or socket
- Verify LED compatibility with dimmer switches before installation to prevent flickering or damage
- Do not use standard LED bulbs in fully enclosed, unventilated fixtures — use "enclosed fixture rated" LEDs instead
- If you have any doubts about your home's wiring or electrical panel, hire a licensed electrician
- Never replace a bulb that is still hot — allow it to cool completely before handling
4. Checklist to Lower Your Bill Today
Don't miss a single opportunity to save. Work through this practical checklist and check off each action as you complete it:
✅ Your Personal Energy-Saving Checklist
💡 The Golden Rule of Energy Efficiency
Transitioning a standard home to 100% LED technology can pay for itself in less than 6 months through the energy savings generated. Energy efficiency is a winning combination of smart technology and daily awareness.
For deeper insights into energy standards and appliance ratings, we recommend visiting the official ENERGY STAR portal — the U.S. government-backed symbol for energy efficiency and the go-to reference for American households.