


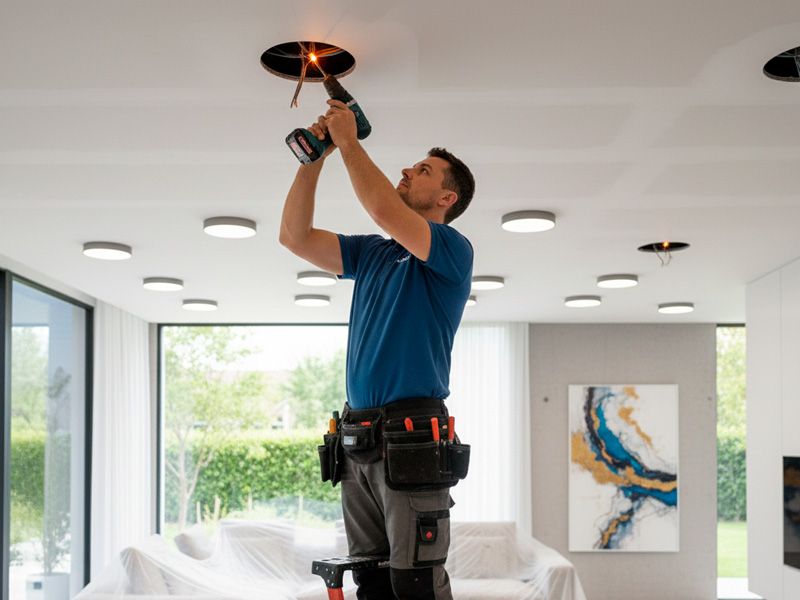
Hello! Today we explain in simple terms the best way to install LED recessed downlights in your ceiling. This type of lighting is not just a trend; it is a smart decision that boosts energy savings, enhances the aesthetics of your spaces and delivers superior light quality.
Below, we reveal everything you need to know — from choosing the perfect model to step-by-step installation — applying best-practice SEO principles and effective copywriting techniques.
The Big Leap: Why Choose a Recessed Fitting with LED Technology?
LED recessed downlights are luminaires designed to be installed in suspended ceilings or plasterboard, integrating seamlessly and minimally into the architecture of a space. The key to their success lies in the technology they use: the Light Emitting Diode (LED).
The primary advantage — and the main purchase driver in 2024 — is energy efficiency. While old halogens or fluorescents wasted most of their energy as heat, LED converts it into light efficiently and economically.
Unmissable Benefits for the Consumer and the Planet
Installing LED recessed downlights in your home or business offers quantifiable benefits that directly impact your wallet and environmental sustainability:
How to Choose the Perfect LED Recessed Downlights: The 6 Key Criteria
To answer the question Which recessed downlight should I choose?, it is essential to look beyond price. The right choice is based on technical knowledge to meet the lighting requirements of each room.
1. Lumens vs. Wattage and Colour Temperature
The first step is knowing how many lumens you need. Lumens measure the amount of light emitted (luminous flux) and are more important than watts (electrical power) when calculating your lighting.
Calculation: You need to know the dimensions of the space to be lit in order to determine the number of lumens per square metre required.
Colour Temperature (Kelvin): Choosing the right light tone is crucial for creating the desired atmosphere:
Living rooms & bedrooms
Relaxing atmospheres
Kitchens, bathrooms, offices
Versatile natural light
Garages, warehouses
Maximum clarity
2. Ceiling Cut-Out: The Measurement that Guarantees a Perfect Fit
This is a vital technical detail. If you already have holes or plan to cut new ones, you must know the exact measurement:
- Ceiling Cut-Out (Installation Diameter): This is the size of the hole that needs to be made in the ceiling. It is the most important measurement.
- Outer Diameter: The total size of the downlight. It must always be larger than the cut-out to cover the hole and ensure a perfect fit.
3. Beam Angles: Concentration vs. Uniformity
The beam angle defines how the light is distributed:
- Narrow Beam (24°, 36°, etc.): Perfect for creating focused, directional light to highlight specific objects or areas (e.g. shelving, artwork).
- Wide Beam (60°, 120°): Ideal for achieving even, broad illumination covering large areas uniformly, such as meeting rooms or kitchens.
4. IP Rating: Protection Against Moisture and Dust
The IP Rating (Ingress Protection) indicates the level of protection a downlight has against solids (dust) and liquids (water/moisture).
| IP Rating | Recommended Use | Example Room |
|---|---|---|
| IP20 | General indoor use. No moisture. | Living rooms, hallways, offices. |
| IP44 or above | Areas with moisture or water splashing. | Bathrooms (shower zone), kitchens. |
| IP65 or above | Outdoor use or areas in direct contact with water. | Covered terraces, porches. |
5. CRI (Colour Rendering Index): The Quality of Colour Accuracy
The CRI (Colour Rendering Index) measures a light source's ability to faithfully reproduce the colours of objects compared to natural light (CRI 100).
- CRI > 80: Considered a high index. Colours appear natural and true to life.
- CRI > 90/95: Maximum quality — essential for clothing boutiques, art galleries or photography studios where colour accuracy is critical.
Product Case Study: Osram Chip Palace LED Recessed Downlight – UGR17
As a specialist, we present an example of a downlight designed specifically for professional environments: the Osram Chip Palace LED Recessed Downlight – UGR17.
This model exemplifies maximum efficiency and advanced design, using an Osram SMD 5050 Duris S8 GW chip — a brand recognised for its High Quality technology — achieving a luminous efficacy of 140 lm/W.
The Key to Modern Offices: Anti-Glare Technology (UGR17)
One of its most outstanding features is the UGR17 (Unified Glare Rating) factor. The UGR measures the level of glare produced by a luminaire. A low value (such as 17) indicates that the downlight significantly reduces visual fatigue and eye strain — crucial for offices and extended work environments.
This downlight combines:
- A narrow primary beam angle (24°) for direct, precise focus.
- A wider secondary beam angle (60°) for complementary light distribution.
This design concentrates light on specific points and eliminates annoying reflections on screens — making this downlight the ideal solution for professional spaces, retail environments and meeting rooms looking for a sleek, modern look.
Practical Guide: How to Install an LED Recessed Downlight Safely?
Installing recessed downlights is straightforward, even for users without advanced knowledge, provided you follow these safety and organisational guidelines.
Steps for a Quick and Clean Installation
Golden Rule: Spacing Between Downlights
The spacing between each downlight should be calculated based on its beam angle.
- For a narrower beam angle (concentrated light), downlights should be placed closer together to avoid dark spots and ensure even illumination.
- A general rule of thumb is to space them approximately 80 cm or more apart, always adjusting this distance to the specific beam angle to achieve optimal light overlap.
Conclusion: Illuminate Your Future with LED
Switching to LED recessed downlights is the most cost-effective, eco-friendly and aesthetically superior choice for any modern lighting project. From financial savings to an improved quality of life through glare-free light (low UGR) and accurate colour reproduction (high CRI), this technology is the foundation of contemporary lighting design.