

150W LED High Bay
8 products
New
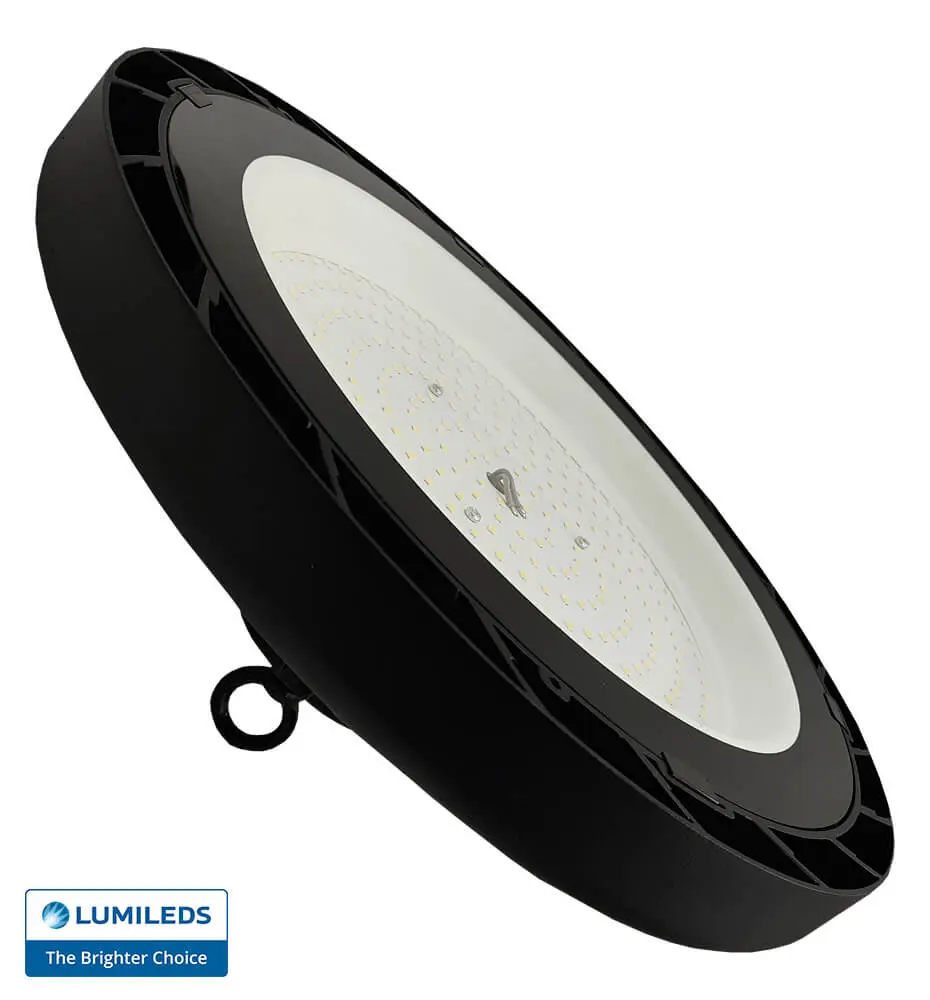
Industrial LED High Bay 200W-150W-100W UFO ENDURANCE OSRAM CHIP DURIS E 2835
79,90 €
VAT included
Ref: ENDUR-HB200W
New
Industrial LED High Bay 150W-100W-80W UFO ENDURANCE OSRAM CHIP DURIS E 2835
69,80 €
VAT included
Ref: ENDUR-HB150W
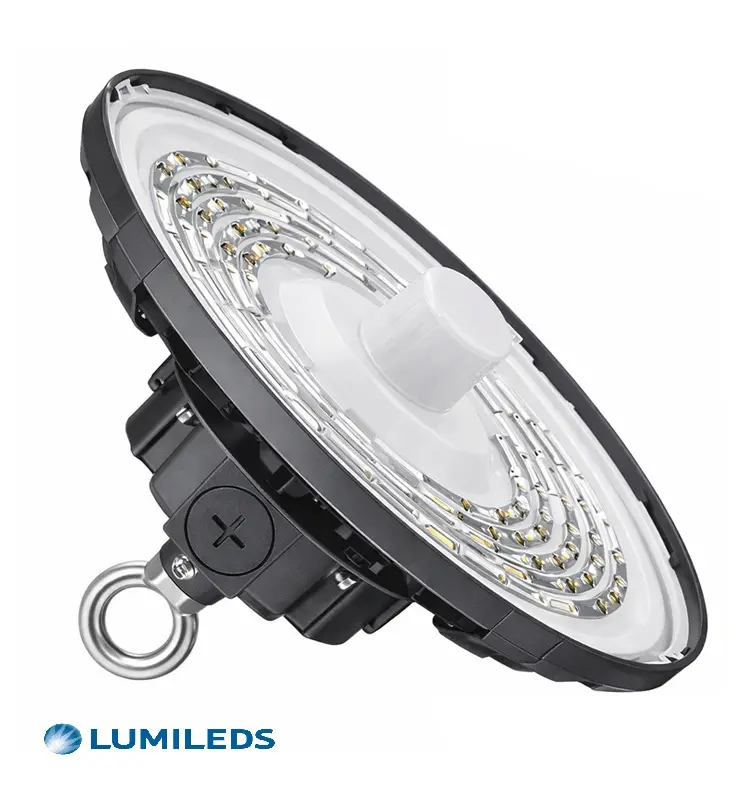
Industrial LED High Bay 150W UFO FRANCE 3CCT 200Lm/W | Smart Motion Sensor | Sosen Dimmable 1-10V | OP 60º - 90º
106,48 €
VAT included
Ref: SENS150W-91292
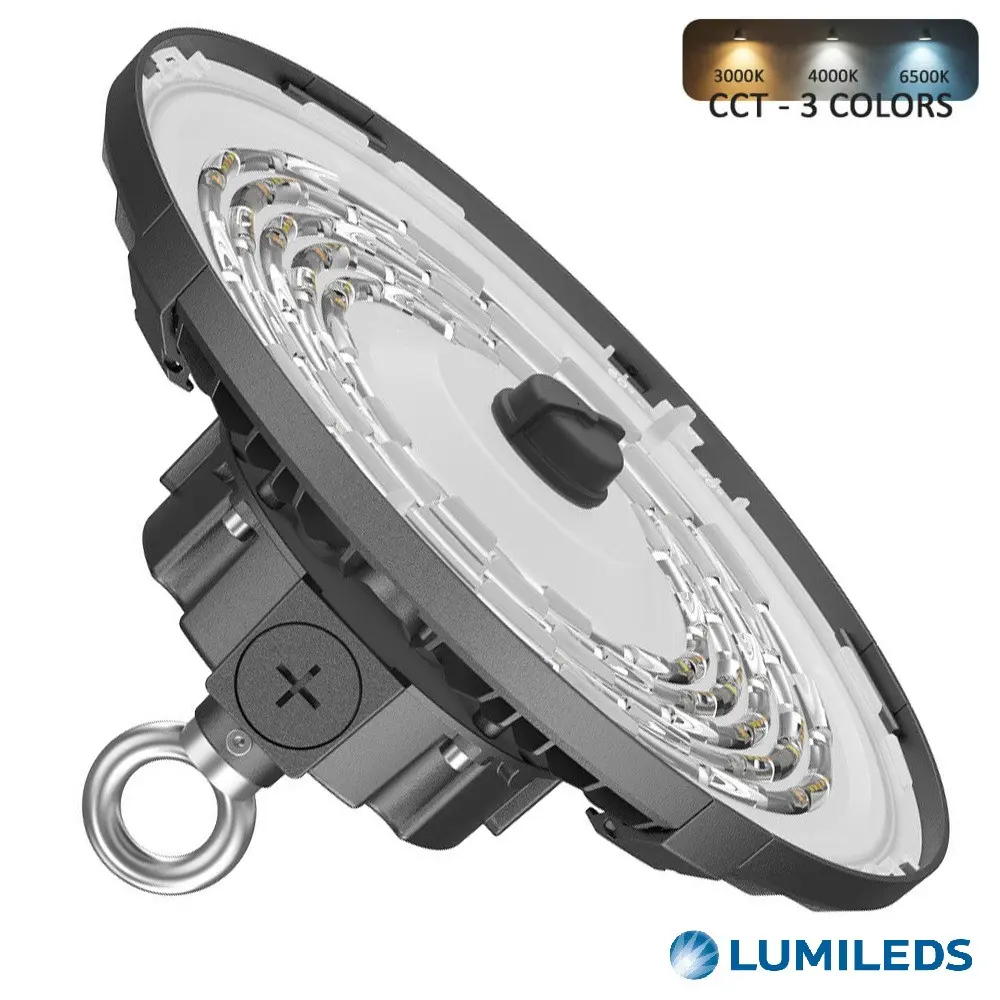
Industrial LED High Bay 150W | UFO FRANCE 3CCT | SMD2835 Lumileds 200Lm/W | Zhaga Plug And Play | Sosen Dimmable 1-10V | 60º-90º
95,90 €
VAT included
Ref: HB150W-CCT-91292
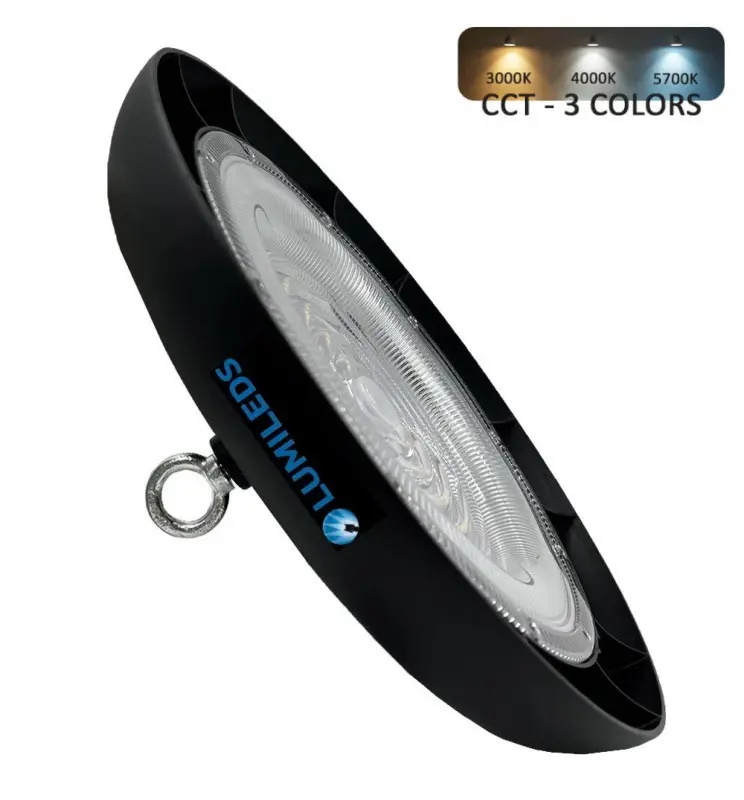
Industrial LED High Bay 150W UFO - NEW TITAN CCT - CHIP LUMILEDS SMD 2835
46,49 €
VAT included
Ref: HB150W-CCT-91335
Industrial LED High Bay 80W-100W-150W-200W - UFO - OPORTO - CHIP LUMILEDS
83,43 €
VAT included
Ref: HB-MULTI
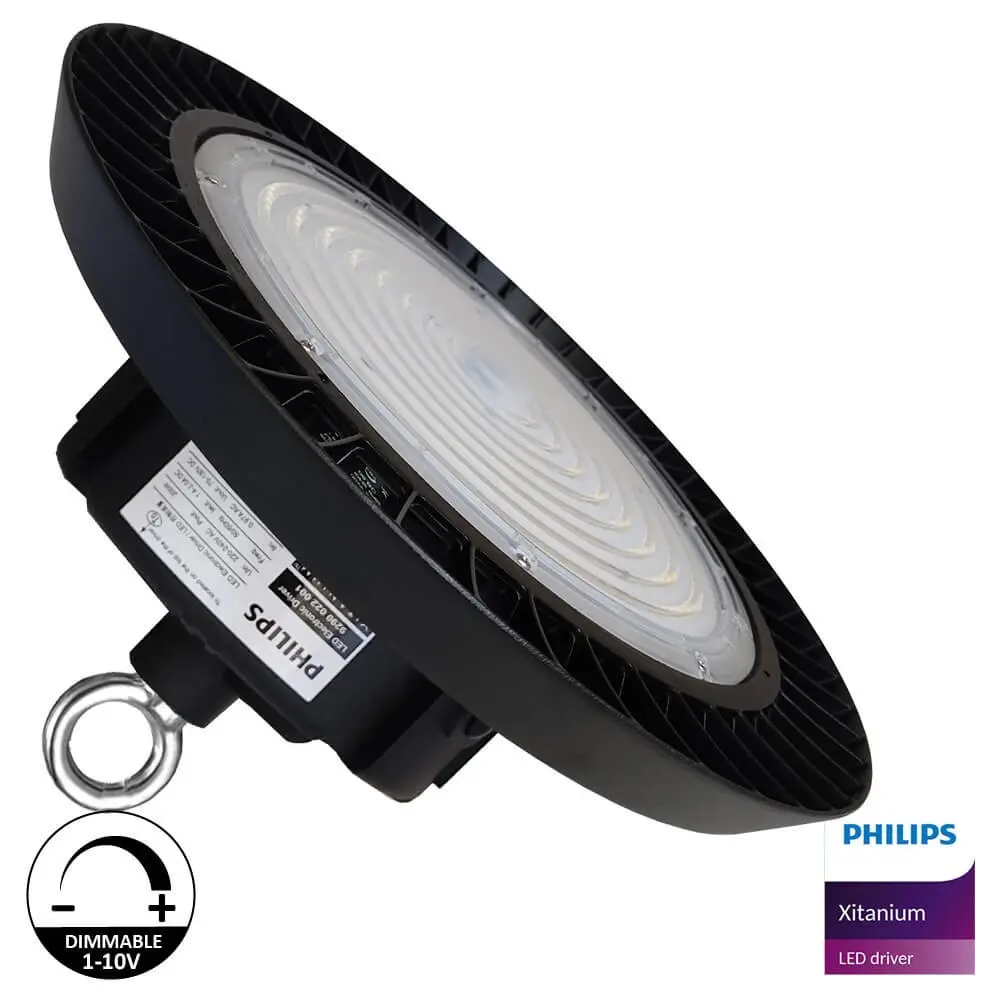
High Bay LED 150W -170Lm/W- UFO NEW ITALY PHILIPS XITANIUM - 1-10V DIM
89,90 €
VAT included
Ref: NEW-HBPHL150W
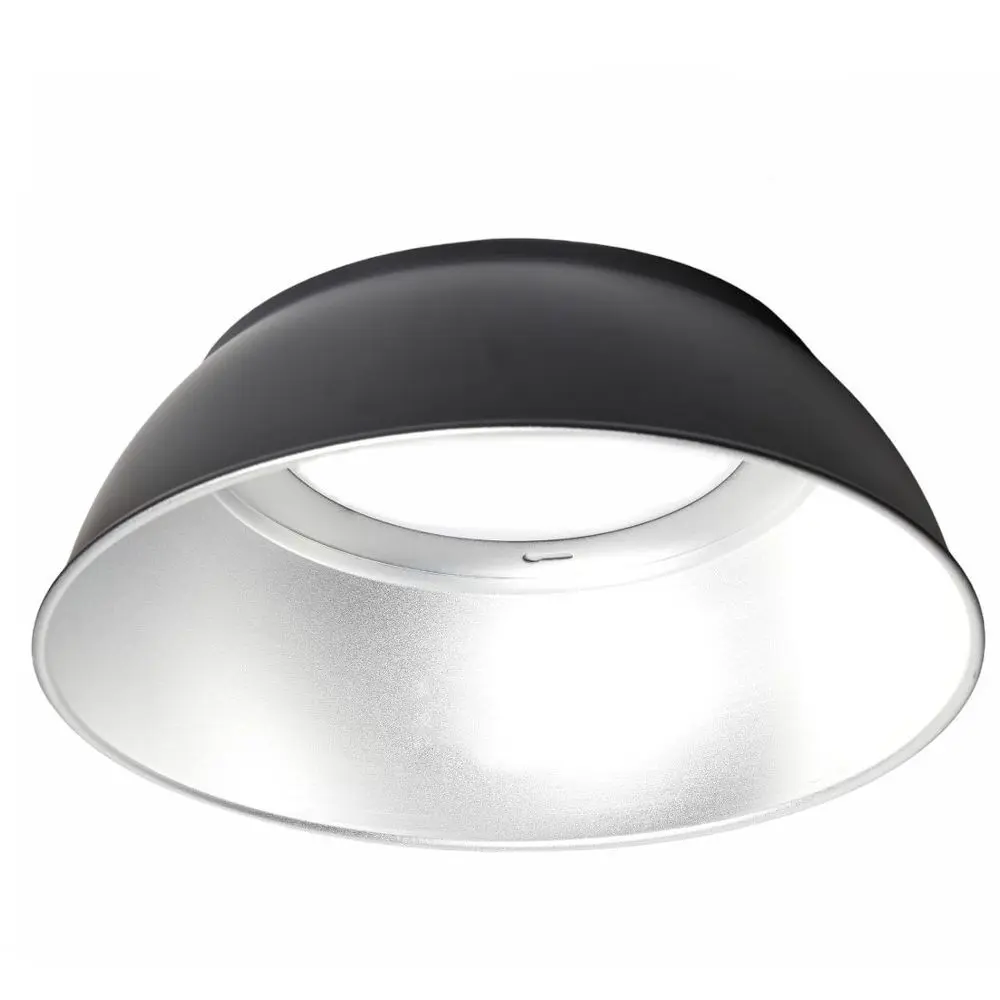
Reflector - 60º - High Bay LED 100W-150W UFO ENDURANCE Osram Chip
12,41 €
VAT included
Ref: CV-HB100W-150W-ENDUR
Choose your 150W LED high bay with the floor plan in front of you: mounting height, light points and power level
This wattage is not chosen from the catalogue; it is chosen on the floor plan. A 150W LED high bay earns its place in a project when three figures line up: the clear mounting height it will hang at, the lux required by the work carried out underneath and the floor area each point has to cover. With those three numbers the wattage follows naturally, and so does the quantity you need to order.
A 150W LED light point delivers between 24,000 and 30,000 lumens depending on the version, because these series are rated at 160 to 200 lm/W. That output per unit is what lets you widen the grid: each fitting covers considerably more area than the level below, so you need fewer points, fewer hours working at height and fewer metres of cable to run along the structure.
In industrial buildings of six to nine metres to the truss, which make up most of the Spanish building stock, the useful question is not how much light you install. It is how many metres apart you install it. A generous grid of good fittings spreads light better than a tight grid of weak ones and leaves less remedial work afterwards.
None of this has to be judged by eye. Our lighting engineer models the space in DIALux and sends back the simulated distribution, so the conversation with the building owner stops being an opinion about watts and becomes a plan with calculated light levels. Send the floor plan, the suspension height and the use of each area to uk@factorled.com, and the quantity is agreed on the basis of that proposal. The range is manufactured in-house, so the product reference you specify now will still be available years from now, and the warranty runs up to 6 years depending on the product, with three as the minimum.
Measure the clear height and you have the wattage: from six to nine metres, each light point calls for 150W
Clear mounting height matters more than square metres. Measure it from the floor to where the fitting will actually hang, not to the ridge: in a pitched-roof building there are a good two metres between one figure and the other, and that mistake is paid for in surplus material.
Six to nine metres is where 150W fits without forcing anything. Below six, the 100W level gives a better spread: at four or five metres, concentrating a lot of output in a few points creates glare in the forklift driver's line of sight and harsh shadows between racks. There you want more points, each with less power.
In between sits a 120W level that handles buildings of five to six and a half metres, as well as high mezzanines. When you are torn between two adjacent wattages, decide with the installation layout, not the catalogue: half an hour of calculation changes the number of units on the order.
Above nine metres the problem flips. If the distance to the working plane doubles, the light reaching the floor drops to a quarter, so the answer is either to step up in power or to narrow the beam angle and push the output downwards instead of wasting it on the side walls. Work areas under a mezzanine, with two and a half or three metres of clear height, do not call for an industrial light fitting of this kind either: that is where weatherproof battens or panels go, spreading light over a short distance without glare. Send us the suspension height of each area before ordering and we will confirm which level suits each one.
Work out how many industrial high bays fit on the plan and how far apart they should be
A 150W high bay is not ordered by the square metre; it is ordered by grid. The starting rule is simple and holds up well against detailed calculation: with a wide optic, the spacing between points is roughly equal to the mounting height itself.
A 40 by 25 metre building, one thousand square metres with an eight-metre height, is solved with an eight-metre grid. Five points along the length by three across the width, fifteen units, with the first row four metres from the wall. Each unit covers its own 64 square metres of grid. That layout delivers an even distribution, and uniformity is what you notice when you walk into the building, not the average value from the calculation: an evenly lit floor looks better than one with peaks and troughs, even if both have the same average.
Across large areas it pays to check the grid on the plan before placing the order. Warehouses with high racking are where mistakes happen most often. The grid is not drawn over the open floor plan but over the aisles: each unit is centred on the aisle and never above the racking, otherwise the light stays on the top pallet and the operator works in semi-darkness at floor level. Visibility is checked at label height, not at floor level.
An indoor car park calls for something different: a tighter grid, less output per point and attention to the ramps, where the eye goes from bright to dim within a few metres. And always count the output of the complete luminaire, not that of the bare LED source: between those two figures there are optical and thermal losses that nobody will knock off for you on site. With the grid finalised, the order goes out in one go with the units counted, which is how you avoid a second purchase halfway through installation.
What you gain and what you lose by changing power level: the 150W LED high bay versus what you already have installed
The jump between power levels is measured in fixing points, not watts. Moving up to the top of the range raises the output per point by around a third compared with a 150W industrial high bay, so the same building is covered with fewer units and the rows spread out. That saves drilling, metres of cable tray and trips up the access platform, but in return it increases the contrast between the area directly beneath each fitting and the area halfway between two points. In an open-plan nine-metre building it is worth it; in a seven-metre one with fixed workstations below, it is not.
Dropping to the lower level works the other way. You get more points, more connections and more installation hours, but the floor is lit more evenly and the light source is less intrusive in the field of view of someone working eight hours underneath. The sum that decides brightness is simple: the total installed light output is practically the same in both cases, because the output the plan requires does not change; what changes is how many pieces you split it into and what it costs to hang them.
There is a third route that is rarely used and solves many mixed-use buildings: combining 150W and 200W in the same project. The first for the general area, the second for the high bay section or the most demanding loading dock. You still handle two product references instead of five, and replacements stay simple.
This middle level is also the one most often replaced across installed sites, because it suits more spaces without over- or under-lighting them, and that high efficiency in use is what makes it worthwhile to fit out the bulk of the project with a single reference and fine-tune the extremes with its neighbours in the range. It is ideal for industrial buildings of six to nine metres and anything similar: mechanical workshops, logistics centres, meat-cutting rooms, high-ceilinged sports halls and exhibition halls. If your building combines different heights, send us the heights by area and we will send back the split of power levels before you finalise quantities.
The same lighting layout applies: order this wattage as a UFO LED industrial high bay or in a linear version
Once the wattage is set, you choose the housing, and there are two: the UFO LED high bay, with a round disc, and the elongated linear version, which spreads light along an axis rather than in a circle. Both formats are available at this power and both deliver the output you have calculated. The lighting layout you have just finalised applies equally to either.
What changes is the geometry of the space. An open-plan building or a wide workshop takes the circular distribution without any issue; a long aisle, an assembly line or a racking aisle makes better use of a body that stretches the beam in the direction of travel. That comparison is settled in the format category, not here: this page decides how much power per point, and that one decides which housing you hang it in. The full specification sheet for each version, with what it includes and what it supports, also has its own page.
To place the order, you just need both decisions made. The wattage without the format leaves the delivery note half-done, and the format without the wattage leaves the plan unfinished.
Assign beam angles by area: 120º in open-plan buildings and 90º in racking aisles
The beam angle decides where the light lands, and in a project it is not chosen just once: it is chosen area by area on the plan. It is the variable most people skip because they only look at the watts.
A wide optic spreads light over the floor area and is the right choice for open-plan buildings, dispatch areas or workshops without racking, at heights of six to eight metres. The medium optic concentrates a little more and works from eight to ten metres, when you need to reach the floor without wasting half the installation on the side walls. In narrow aisles, with racking up to nine metres high, the beam is narrowed further still to get the light down the aisle between two racks.
That decision changes the count. A lens with a narrower beam covers less area per point, so the rows tighten and the number of units goes up; a wider one reduces them and lowers uniformity. That is why the number of fittings and the beam angle are settled together, never separately: changing the optic afterwards means redoing the entire grid.
In covered outdoor areas, such as a loading canopy or under a dock shelter, a narrow beam is the rule for a different reason: light that escapes beyond the canopy illuminates nothing, is wasted and bothers the neighbours. There you should also check the actual suspension height, which rarely matches that of the interior. Mark on the plan which areas take each beam angle and send it to us with the quantities: that way the material is shipped split by room.
Mark on the plan which circuits are 1-10V dimmable and which areas are ordered at 4000K
The dimmable version is decided at the project stage, not afterwards. What you need to bring settled is the split by circuit: which circuits on the plan are ordered with dimming-ready electronics, which stay on fixed switching and in which areas it makes sense to lower the level when there is no activity. A fitting without dimming-ready electronics cannot be made dimmable later on: it has to be replaced entirely, with the lift and the hours that involves.
Colour temperature is split in the same way, by area and on the same plan. Neutral white covers almost all industrial interiors because it does not tire the eyes over a long shift and keeps colours recognisable from start to finish. Warm 3000K is reserved for circulation areas, adjoining offices and premises where the light needs to feel welcoming. What you should avoid is mixing two colour temperatures within the same visible room: it shows from the doorway.
Note both on the same sheet as the quantities, circuit by circuit. With that split finalised, the order goes out on a single delivery note and the electrician runs the cable just once.
Only four lines on the datasheet of a 150W industrial LED high bay change your order: output, lm/W and IP65
Of the whole datasheet, only four lines matter for the project. The first is the output of the complete luminaire, measured at the exit of the optic: it is the figure that divides the lux per square metre and gives you the quantity. The second is lumens per watt, because it sets the total installed power and with it the sizing of the circuit; the high efficiency of the range runs from 160 to 200 lm/W depending on the series.
The third is the power factor. Below 0.9 the installation pays for reactive power, and with dozens of points running eight or ten hours a day that shows up on the bill every month; it also determines how many fittings each circuit can take before another has to be added. The fourth is sealing. The IP65 ingress protection rating translates into two measurable tests, resistance to dust and water jets, and in project terms it tells you which areas of the building require it: where forklifts raise dust and cleaning is done with a hose, yes; in a workshop office, it makes no difference. That line is always read by the IP code and never by the adjective in the brochure, because a product described as rugged tells you nothing until its two digits appear after those two letters.
The rest of the datasheet describes the product and is consulted once you have chosen the reference. That is where you will find the SMD chip with its declared manufacturer and the housing made of aluminium with a finned heat sink, which is what sustains luminous efficacy hour after hour and what the real durability of the unit depends on. A 150W industrial LED high bay with a Philips driver Xitanium also has spare parts you can still source after a few years, and that continuity is what lets you replace units without redoing an entire row. The declared service life is achieved as long as the LED junction operates within its range.
One figure is decided by task, not by metres: the CRI. In industry the standard is 80, rising to 90 when visual colour inspection takes place below. With a decent colour rendering index, a brown cable and a red one stop looking like the same cable and colours read almost as they would in natural light. In the listing, this wattage appears as a 150W LED high bay luminaire, with a compact housing and modest weight. Ask for the datasheet of the series you are considering before finalising quantities: with the complete luminaire output and measured consumption in front of you, the calculation can be checked in a minute from the office.
Questions that come up before finalising the number of points, from calculation to straightforward installation
What information do I need to send you to get the number of units?
Four things: floor area and layout, clear height to the fixing point, the lux required by the activity in each area, and whether there is racking blocking the side light. With that, our engineer models the space and sends back the quantity, the layout on the plan and the power level for each area. Without the height no calculation is possible, and the same goes for not knowing what happens underneath: a dispatch area and an inspection line do not require the same thing.
Can I mix different wattages in the same building?
Yes, and in buildings with uneven heights it is the sensible thing to do. What you should not mix within the same visible area is colour temperature or beam angle, because from the doorway the result looks like a botched repair. Settle the kelvin and the optic by area first, then split the watts.
How many units should I set aside as spares?
It depends on the size of the installation, not the order. As this is the middle level of the catalogue and the one most often replaced, the prudent approach is to keep a small stock of spares for each long row and fix the product reference from the very first order. Because we manufacture the range ourselves, replacements come from the same production line, with identical distribution and identical kelvin, so the row never looks patched.
Does a safe installation require checking the structure before counting points?
It is advisable, because it sometimes changes the plan. The fitting hangs from an eyebolt with steel cable or chain down from the purlin, truss or beam, and its weight is modest, so in most spaces a standard fixing to the section is enough and no custom brackets are needed. Two checks must never be skipped: that the fixing point withstands dynamic loads, because a building with an overhead crane vibrates, and that there is free air above the fitting. If the ceiling is sandwich panel, the fixing goes to the structure and never to the panel itself, which may shift some rows from the theoretical grid.
How do I buy this at trade prices, and what happens if there is surplus material?
With a business account activated: a registration form and your company or self-employed registration documents sent to uk@factorled.com. From then on you work with wholesale pricing and volume discounts that improve with quantity, the price list can be downloaded with your logo, orders can be shipped without a visible sender and the catalogue can be loaded into your shop via dropshipping with stock updated daily. Deferred payment terms are assessed case by case, so it is best to request them when opening the account.
If there is surplus material, returns are accepted within the terms of our policy and processed via RMA from the customer area: original box without stickers or tape, with packaging, manuals and accessories inside, and return shipping paid by the customer. Visible damage must be noted on the delivery note before signing for the carrier. Shipping costs are calculated by the basket based on weight, volume and zone, and are shown before you confirm payment; the Canary Islands, Ceuta and Melilla require DUA customs processing and advance notice.
In industrial environments where the work is split into phases, getting the middle level right avoids a mixed order and leaves the project finalised with a single dominant reference. If you already have the floor area and height measured, send them to uk@factorled.com and we will return a proposal with quantity, beam angle and layout; to finalise it over the phone, call 91 805 67 67 or 654 777 000. Delivering powerful, efficient lighting in large spaces starts with that point count, not with the wattage at the top of the catalogue, and that is where industrial lighting stops being a purchase and becomes a project: ask us for the study, and the 150W LED high bay you install will be exactly the one the plan called for.
Más en LED High Bay